What to Do When TSA Confiscates Your Item — What Happens Right at the Checkpoint
Navigating airport security has gotten complicated with all the confusion flying around about what you can and can’t bring. As someone who watched a $300 bottle of Japanese whiskey get pulled from my bag at Denver International at 6:47 a.m. on a Tuesday, I learned everything there is to know about TSA confiscations the hard way. Today, I will share it all with you.
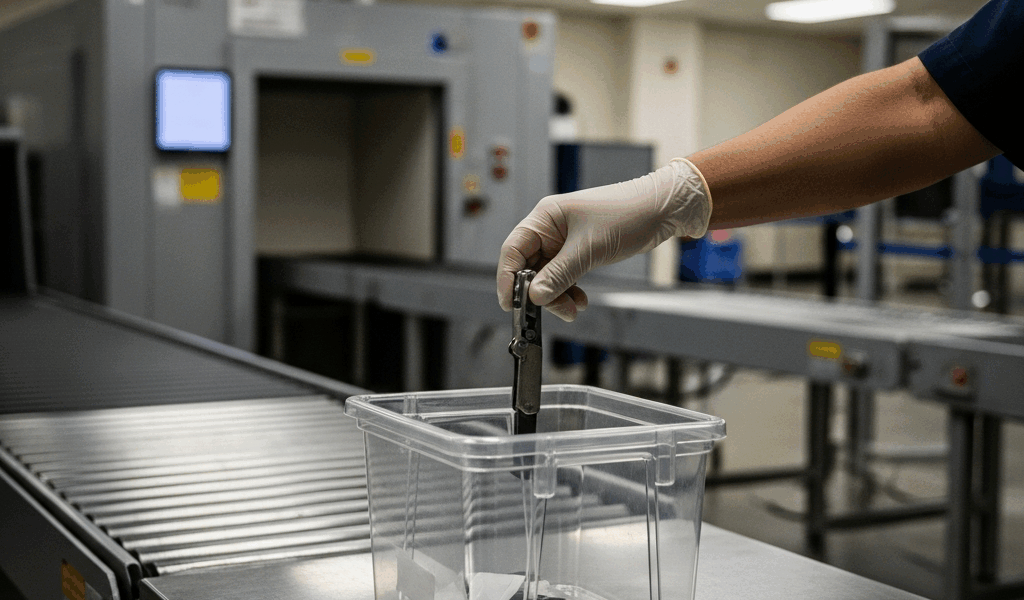
The officer set it in a gray bin. That was it. No negotiation. No “sir, would you like to—?” Just a flat decision and a gesture toward the checkpoint ahead. Gone.
Knowing what to do when TSA confiscates your item starts with understanding that moment clearly. You have seconds — not minutes. The officer isn’t going to debate whether your 3.5-ounce bottle of sunscreen technically clears the rules. The decision is already made.
Here’s what actually happens: the officer places your item in a bin or hands it back and tells you it’s prohibited. You’re standing in line. People are stacking up behind you. The pressure hits fast. But you do have options — real ones, not just “accept the loss.”
Your Immediate Options
First option: walk back through the checkpoint and check the item into your luggage. This only works if you haven’t fully cleared security yet. It means leaving the line, heading back to the ticket counter, cracking open your checked bag, and securing everything again. Honestly, it’s a pain. You might miss your flight. But for anything valuable, it deserves a few seconds of thought.
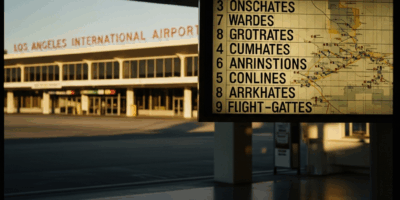
Second option: mail it home. Major airports — LAX, JFK, Chicago O’Hare — have postal services or shipping kiosks either before security or tucked into the departures area. FedEx, UPS, USPS. Rates run roughly $15 to $50 depending on speed and distance. It works. It’s immediate. Probably should have opened with this section, honestly — because this is the option I didn’t know existed when the whiskey disappeared. I should have asked the officer where the nearest mail service was instead of just standing there watching it go.
Third option: abandon it. Walk away. Your flight boards in an hour. The item is gone. Move on.
Most people pick option three. I did with the whiskey. Don’t make my mistake.
Can You Get Your Confiscated Item Back
Short answer: almost never.
TSA doesn’t warehouse confiscated items. A lighter, a 4-ounce bottle of hand sanitizer, a multi-tool — once it’s pulled, it goes one of two places: disposal or state surplus auctions. Some airports run a temporary lost-and-found system, but the window is 24 to 48 hours and the success rate for prohibited items specifically sits somewhere around 5 percent. That’s not a typo.
There is a TSA Lost and Found process through official channels. Call the airport where your item was taken, ask to be transferred to Lost and Found, and give them specifics — flight number, approximate time, item description, and what you think happened to it. They’ll look into it.
But what is that process, realistically? In essence, it’s a long shot. But it’s much more than just a phone call — it’s also documentation, patience, and a realistic expectation that if the officer flagged it as prohibited, it probably wasn’t set aside in a bin with your name on it. It was discarded. Timeline matters here: hours, not days.
You’re better off focusing on the other two paths — reimbursement or prevention.
How to File a TSA Claim for Damaged or Lost Property
Probably should have opened with this section, honestly. This applies when your item was damaged during screening — or when you believe TSA improperly pulled something that should have been allowed through. A prohibited item — full-size aerosol, standard pocket knife — won’t qualify. Damage that occurs while officers are inspecting your bag is a different story entirely.
Here’s the step-by-step process:
- Go to tsa.gov/claims. That’s the TSA Claims Management Center. File directly through the web portal — no need to call first.
- Document everything before you leave the airport. Photograph the damaged item. Dig up your receipt. Write down the model number, the exact date, the airport code, and your flight number. All of it.
- Fill out the claim form with specifics. “$200 bottle of perfume, 100ml, purchased at Sephora on 2/14, receipt #12345” lands better than “expensive perfume.” Be precise — it matters more than you’d think.
- Attach supporting documentation. Receipts, photos, any correspondence. More evidence means a stronger claim.
- Wait. TSA typically responds within 30 to 60 days, though the official window stretches to 180 days. Set a calendar reminder and don’t poke them every week.
Realistic payout expectations: most approved claims settle at partial reimbursement — somewhere in the 50 to 75 percent range. Full value is rare. TSA will deny outright if they determine the item was prohibited, and they’re fast about making that call.
The filing window is six months from the date of loss. That’s your hard deadline.
Items Worth Fighting For Versus Letting Go
Not every confiscation deserves a stand. Value matters. So does your boarding time.
Let it go if you’re holding a $15 bottle of olive oil. A standard lighter. A 5-ounce shampoo you can grab at the destination CVS for $8. The aggravation of mailing it home costs more than the item itself — and that’s before you factor in your blood pressure.
Fight for it if you’re carrying a $300-plus bottle of alcohol or fragrance. A Victorinox SwissTool Spirit X at $150. A specialty medication in a quantity that’s genuinely hard to replace mid-trip. A wedding gift you absolutely cannot rebuy on short notice. That’s what makes these items worth the extra steps — at least if you have any time at all to work with.
The middle ground — anything in the $50 to $150 range — depends entirely on your timeline. Flight boards in 20 minutes? Let it go. Two hours and a shipping kiosk nearby? Mail it. Four hours and your checked luggage still accessible? Go check it in.
The most commonly confiscated items are lighters, liquids over 3.4 ounces, certain multi-tools, pocket knives, and aerosol cans. Know what you’re packing before you pack it.
How to Make Sure It Never Happens Again
This isn’t about memorizing the TSA rulebook. It’s about one habit. Verify before you pack — every single time.
Use the TSA’s What Can I Bring tool at tsa.gov/travel/security-screening/whatcanibring. Type in whatever item you’re second-guessing: a wine bottle, a hair straightener, a folding razor. Yes or no, in seconds. So, without further ado, let’s make this the first thing you do when you’re packing for a trip.
I’m apparently a chronic over-packer and the What Can I Bring tool works for me while winging it never does. Keep a dedicated toiletry bag and audit it between trips. Check the seals on liquids. Confirm every bottle is 3.4 ounces or smaller — that’s 100ml if you’re buying abroad. This one habit prevents the majority of confiscations.
Store borderline items — full-size bottles, lighters, multi-tools — in checked luggage by default. You’re never arguing with TSA over something sitting in your suitcase under the plane.
Download the TSA app. It has a security line wait-time feature and the What Can I Bring tool built right in. Genuinely useful — not just filler advice.
That whiskey would have made it to my brother’s wedding if I’d spent 30 seconds checking before I packed it. Instead it went into a gray bin at Denver International while I stood there watching. Don’t make my mistake.


Stay in the loop
Get the latest airport guides world updates delivered to your inbox.